Showing posts with label Projects. Show all posts

Wednesday, April 27, 2011

Quick Fix

As we're slowing watching our powder room transform, it occurred to us that the mudroom could use a little sprucing up while we're at it.  Our original plan was to hold off on touching the mudroom until we do our kitchen renovation, but that is still years away in the budget.  As you'll see, it wouldn't hurt to show the mudroom a little love in the interim.

***Warning! These pictures aren't pretty!***


Here's the plan:
Lay $60 worth of peel and stick black and white vinyl tile over the existing linoleum.

Repair peeling walls

Paint beadboard, walls, and trim bright white and remove the antiquated alarm system. 

Figure out a more organized solution to hang our coats. 

Hopefully the result will be a cleaner, brighter, and more organized space for about $100 and   just a few days of labor.

Would you take the time to fix up a room if you knew your changes were only temporary?

Friday, April 22, 2011

Marvelous Marble Mosaic

Our powder room has a floor!

Even before we moved into our home on Hazard Ave, we knew we wanted a marble tile floor in the powder room. In fact, we were probably at the tile store less than a week after we signed the purchase and sales agreement browsing for ideas and to get an idea on pricing. Fast forward to almost a year later and our our loosely laid idea for a marble tile floor is a reality.

Chris started the process by dry fitting the tiles to get an idea on measurements.  We went with honed Bianco Carrara marble.

He then clearly marked out the pattern on the sub floor.

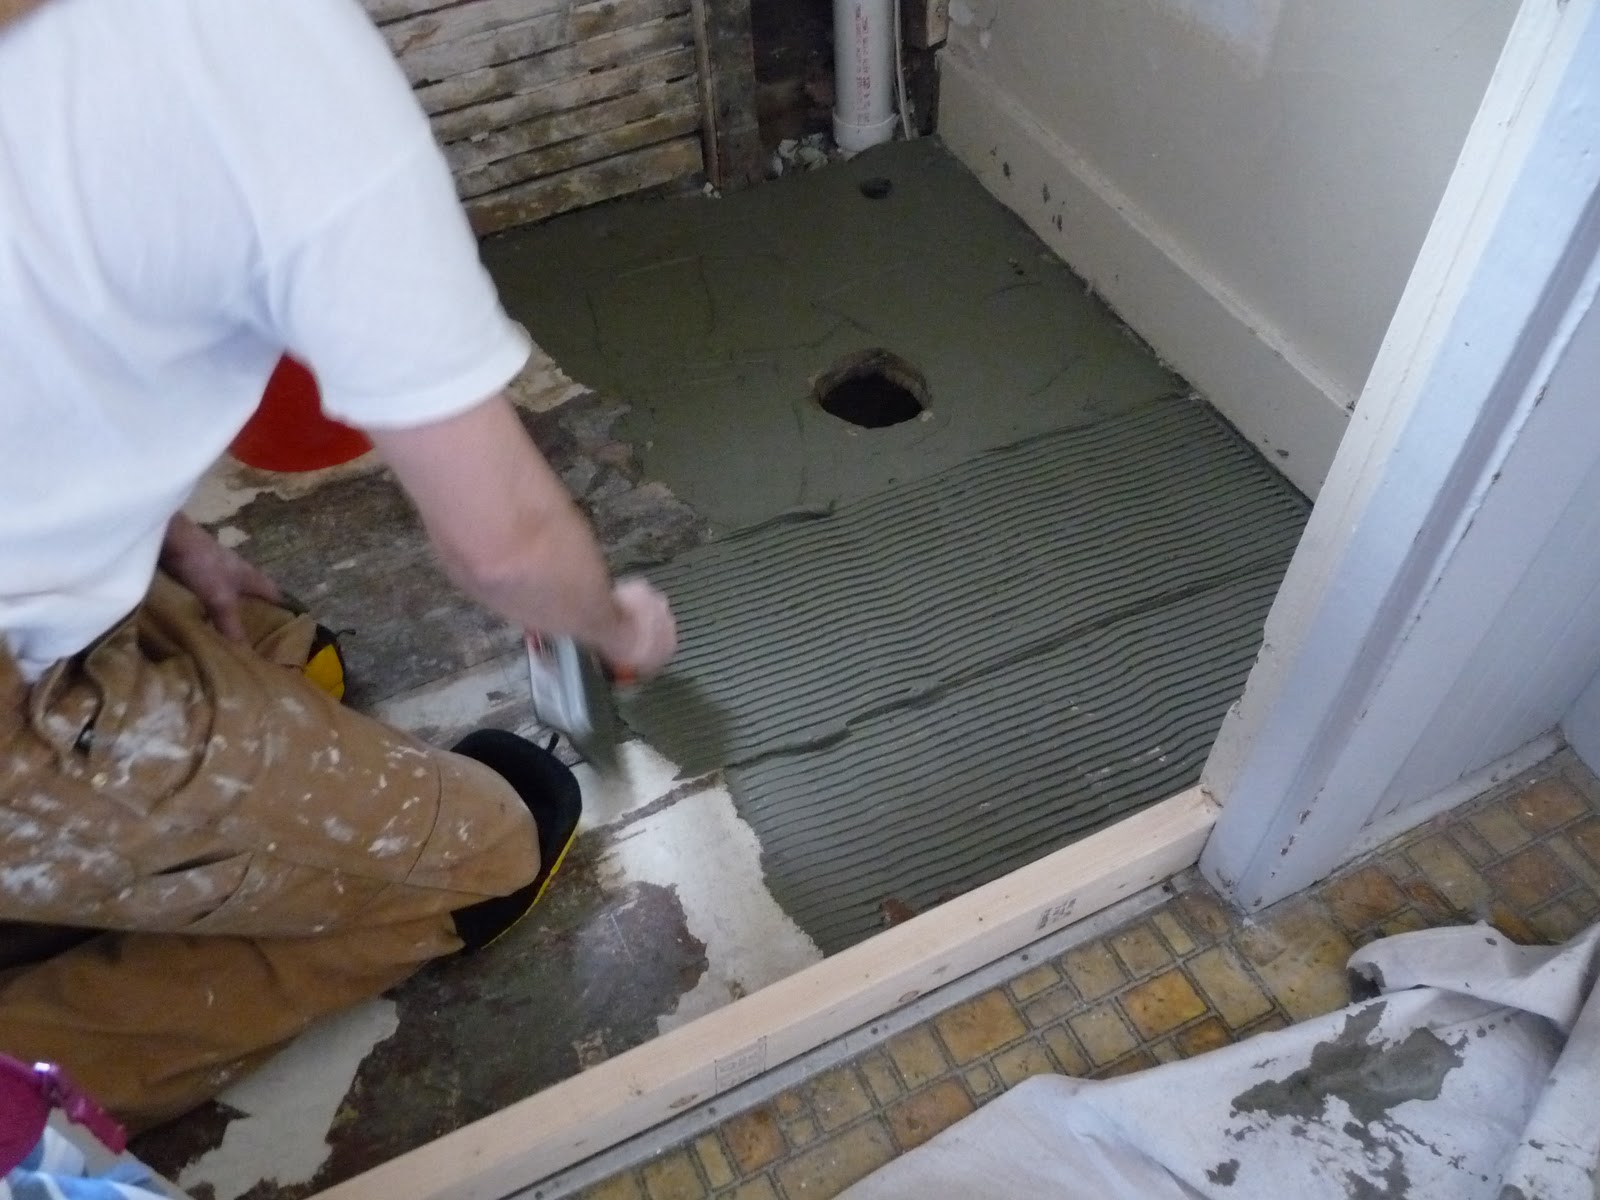
Next, he used thinset to lay the subway and mosaic tiles, leaving the outer border clear. Knowing he'd need to kneel in the middle of the floor to lay the outside border, he let the thinset dry overnight.

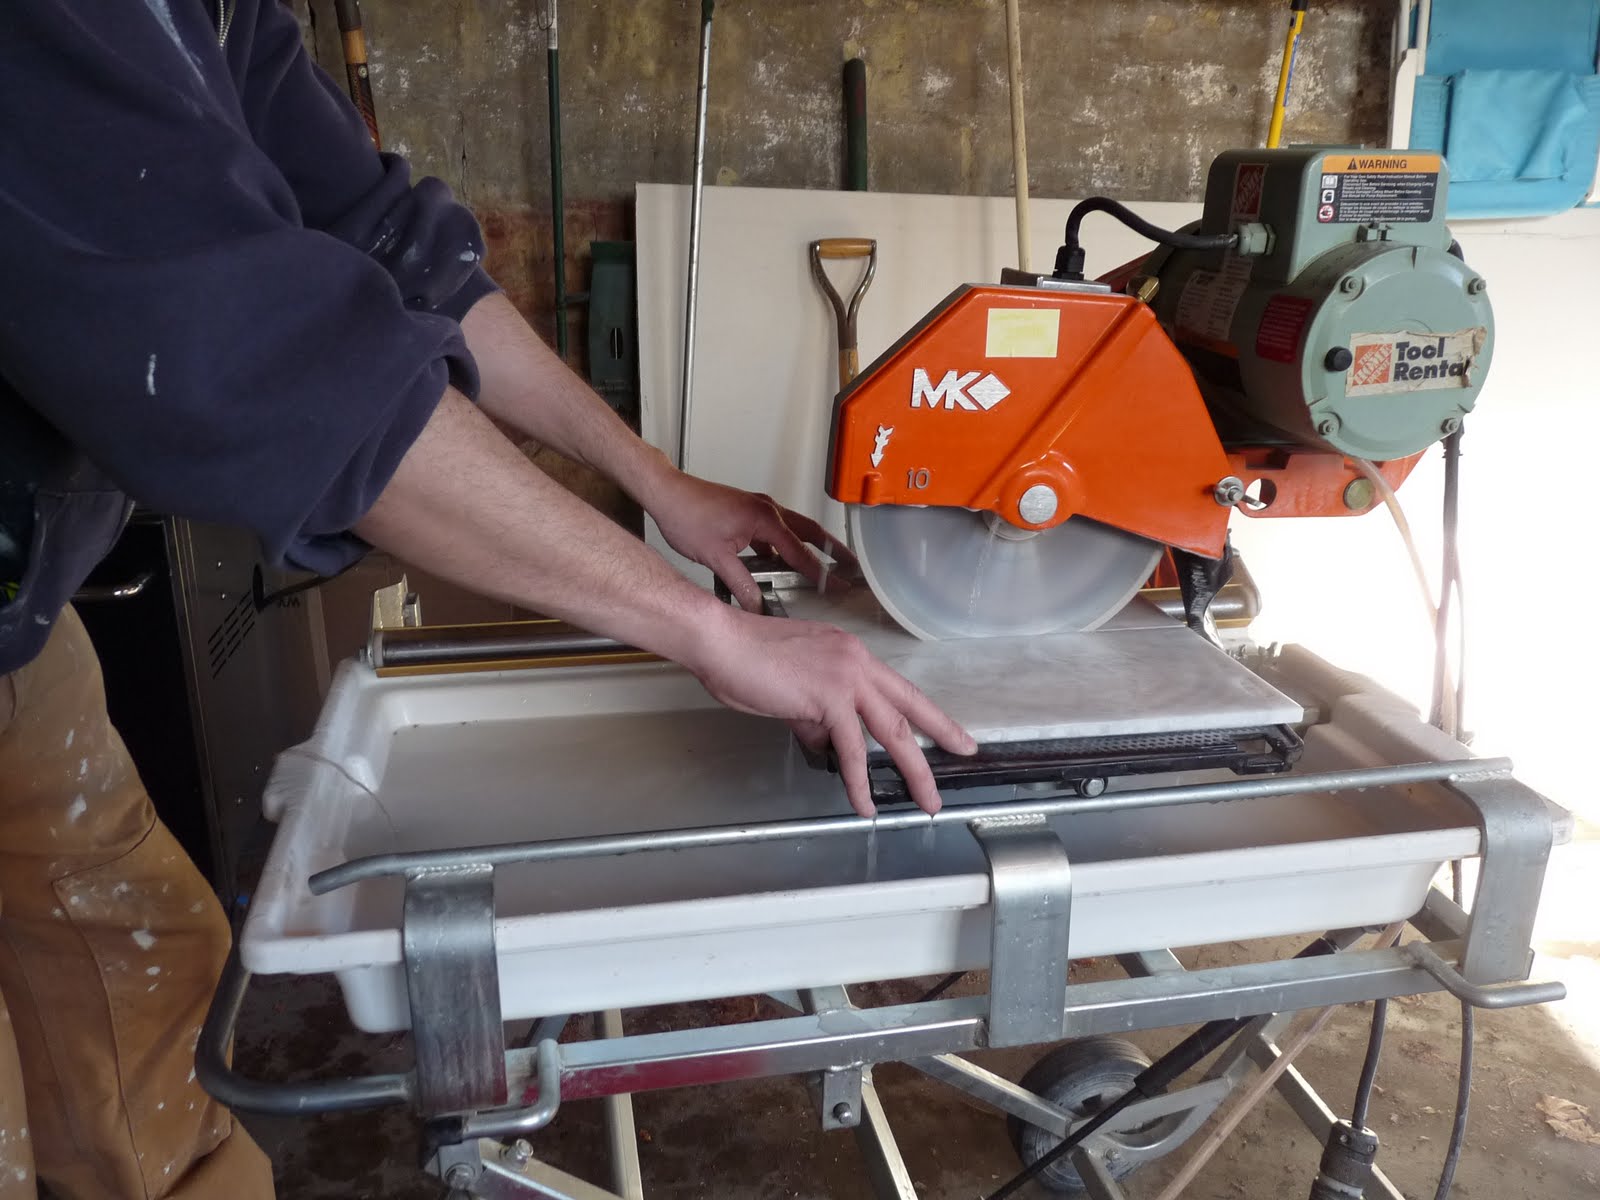
Day 2, I found Chris in the garage cutting down 12x12 inch tiles in half to use on the perimeter.

It's a nice fit.

 In goes the new marble threshold. Don't you just love the transition into the linoleum floor???

Day 3, Chris applies the grout. We chose TEC AccuColor unsanded grout in Dove Gray.

Wiping off the excess. I admit, I was a little nervous that the grout was going to dry this dark.

Finished!
It is a million times better than the shag carpeting that was here before, wouldn't you say?

Stay tuned...hopefully, the next time you see this bathroom it will be for the big reveal!


Photobucket


Friday, March 25, 2011

Pane in the Glass

So maybe that's a little harsh. Replacing the solid wood doors to our home office with french doors wasn't that difficult. It was just tedious and repetitive. 
Original door

New door
Sand, paint, sand, paint, wait a day (okay a week, we're busy people with day jobs) for the paint to dry.
Flip.
Sand, paint, sand, paint.
Multiply all this fun by 2.

Hang.  We cheated and had our contractor, SuperTony, do this part. Lessoned learned from our first house that there are some tasks worth hiring out.

Tony was able to reuse the original glass knobs from the old doors on the new ones. 

Then I added another coat of paint to both doors. When the paint dried, I began the tedious process of removing the plastic film off of each pane. First I scored the edge of the glass to break the paint seal, then gently peeled it away. 

Two panes down, only 58 more to go...

Ta Da!


This wasn't a project that needed to be done, however, they make our recently renovated home office a little more interesting. 


Linking to

The DIY Show Off

Friday, March 18, 2011

Mud and Tape

More progress in the downstairs powder room! Things are really starting to come along now. 


The walls are now "paint ready". I think I'll pop into a local wallpaper store just to be 100% sure that we don't want to go that route. 

Still to do: 
- Molding
- Paint or Paper
- Connect electricity and hang lighting fixtures 
- Install tile & baseboard
- Install the sink and toilet & connect plumbing

Btw, to see just how far we've come, click on the "Powder Room Renovation" link under LABELS on the left hand side of this blog.)

Friday, February 25, 2011

Drained.

The current state of our bathroom project as well as my current state of mind. 
Will this room ever be finished???

Well, at least the rough plumbing is done. 


From this point on, however, the progress will be more apparent. The sheetrock will go up and the tile will go down. The bathroom will start to look like a bathroom again. I can't wait.

btw, to see some completed projects across the blogosphere, visit Deja Renew

Friday, January 28, 2011

We're (sub) Floored!

I haven't had a chance to post on the bathroom work, so I'm stepping back a little bit....  first, Carrie mentioned the framing and expanding the casement ...  the existing framing as shown below was ok, and the beadboard is ~3/4" thick--  so the walls are already very solid.  What you see below required ripping the 2x4's down on my table saw, then notching with my jig saw.  Overall, it went quite well, but it was time consuming.  There are still pieces that need to be completed for the drywall. 


A tool purchase that helped a lot and I have been very pleased with is the palm nailer, by Rigid, that you can see below...  at around $70 at Home Depot, this thing is fantastic.  It runs off my small PC pancake compressor, and drove everything without the expense of a framing nailer nor the PSI needs.  Highly recommend it.... Also great for angles, toe nailing, etc.  this tool pays for itself quickly.  No problem to start a nail with a hammer and drive it home with this.


The next step has been the subfloor in the room.  While the wood is in OK shape, it has been through multiple bathroom configurations...  There are too many holes to salvage it.  Below, you can see some of my patchwork--   Overall, the floor was > 2" thick with wood + subfloor, which is good...  just needs a few patches.


After some effort and fitting the cement boards to size, it was time to add the thinset underneath the backer board.  I bought an $8 drill attachment for stirring the thinset.  Following the directions on the bag of mortar, it said to add water and then the thinset, but I think I should have done this gradually (I poured the whole bag in.)

Trying to mix the thinset strained the sh*t out of my favorite Rigid Power Drill (3/8".)   It is corded and there was smoke and some nasty fumes coming out from it--  Carrie complained of a headache for the rest of the day....  So I used the stirring attachment without power (think churning butter) but it wasn't perfect--  I didn't like the consistency of the thinset, it was a bit thick, but I think it was ok.


You can see below my scratch coat on the left, I used a drywall knife to lay this down.  On the right I am using my trowel... the ridge to the right of my hand was knocked down.  Farther to my right, you can see a 2x4 I cut down to prevent thinset from seeping and drying where the threshold will go inside the casement.


First layer of board down here...  a few screws in, but not the full allotment.  I wanted to lay the thinset efficiently.


Below I am on my second board ...  improving technique as I go, this is a nicer scratch coat.  If you are wondering about the white spots, that is linoleum adhesive I couldn't get up easily...  by easily, I mean without the use of a power tool or pliers and a blowtorch.  Everything I read online said to not bother with it if it is secured well to the floor.


This is a shot of my putting in the backer board screws every 8 inches....  I'm sure guys get used to it, but this work is really hard--  hunched over, time sensitive...  I have a tremendous amount of respect for guys that do this every day.  I used my Hitachi impact driver to do the floor screws, it worked great, although I did have to run to the basement to switch batteries...  no biggie.


With all three sections in, I placed some mesh tape on the seams and leveled them a bit.


Finished subfloor, still drying.  Screws have been placed every 8".


It is really important to me to give back a little bit....  This is me teaching Georgia how to cut backer board.  Once she realized fud wasn't involved she did pretty gud.


Friday, January 21, 2011

We're Wired!

We're finally at that point in the bathroom remodel where we're putting things back together instead of tearing them apart. While we still have a way to go, there's light at the end of the tunnel. Speaking of...the electrician was here the other day to rough wire the room for the sconces and the chandelier we picked out.  He also wired for a GFCI outlet and a ceiling fan. The ceiling fan will have no purpose other than creating white noise for um, privacy. 

I had a heck of a time envisioning where the sconces should go without the mirror and sink in place. Feeling my pain, the electrician left plenty of slack in the wire in case we need to make some adjustments before the sheetrock goes up. 


The blue box in the picture below is where the chandelier and fan switch will be, the gray box is for the gfci and sconces. 


Overhead view of fan and chandelier. 

Next up, plumbing. Stay tuned.