Showing posts with label Powder Room Renovation. Show all posts

Friday, May 27, 2011

Powder Room Reveal!

I thought this day would never come.

When we started this project, this is what the room looked like.

Chris demolished the room

 and framed up a new wall to hide the plumbing stack in the corner.

We hired an electrician to do the rough wiring,

then Chris installed a sub-floor.

We called in a plumber to do the rough plumbing.

The wallboard was installed,

then taped and mudded.

Finally the fun began! Chris hung the beadboard,

installed crown molding,


Ready to see what it looks like now??? Here's the "before" one last time...

and here are the "afters"...


We have to say, it was worth the wait!

Linking to: The DIY Showoff, DIY Home Sweet Home, Remodelaholic

Monday, April 25, 2011

Bonus

Remember when Chris and I were debating whether or not to purchase decorative water supply lines for our powder room remodel? Well, we took your advice and ordered this one from Vintage Tub and Bath. We liked the porcelain "H" and "C" on the knobs (and truth be told, it was also the least expensive. Why spend so much money on something that you'll hardly ever see???).


Imagine our delight when the package arrived and we saw that in addition to the chrome and porcelain knobs, that it also came with solid porcelain ones!


We can't decide which we like better, maybe we'll switch them out seasonally :)


Friday, April 22, 2011

Marvelous Marble Mosaic

Our powder room has a floor!

Even before we moved into our home on Hazard Ave, we knew we wanted a marble tile floor in the powder room. In fact, we were probably at the tile store less than a week after we signed the purchase and sales agreement browsing for ideas and to get an idea on pricing. Fast forward to almost a year later and our our loosely laid idea for a marble tile floor is a reality.

Chris started the process by dry fitting the tiles to get an idea on measurements.  We went with honed Bianco Carrara marble.

He then clearly marked out the pattern on the sub floor.

Next, he used thinset to lay the subway and mosaic tiles, leaving the outer border clear. Knowing he'd need to kneel in the middle of the floor to lay the outside border, he let the thinset dry overnight.

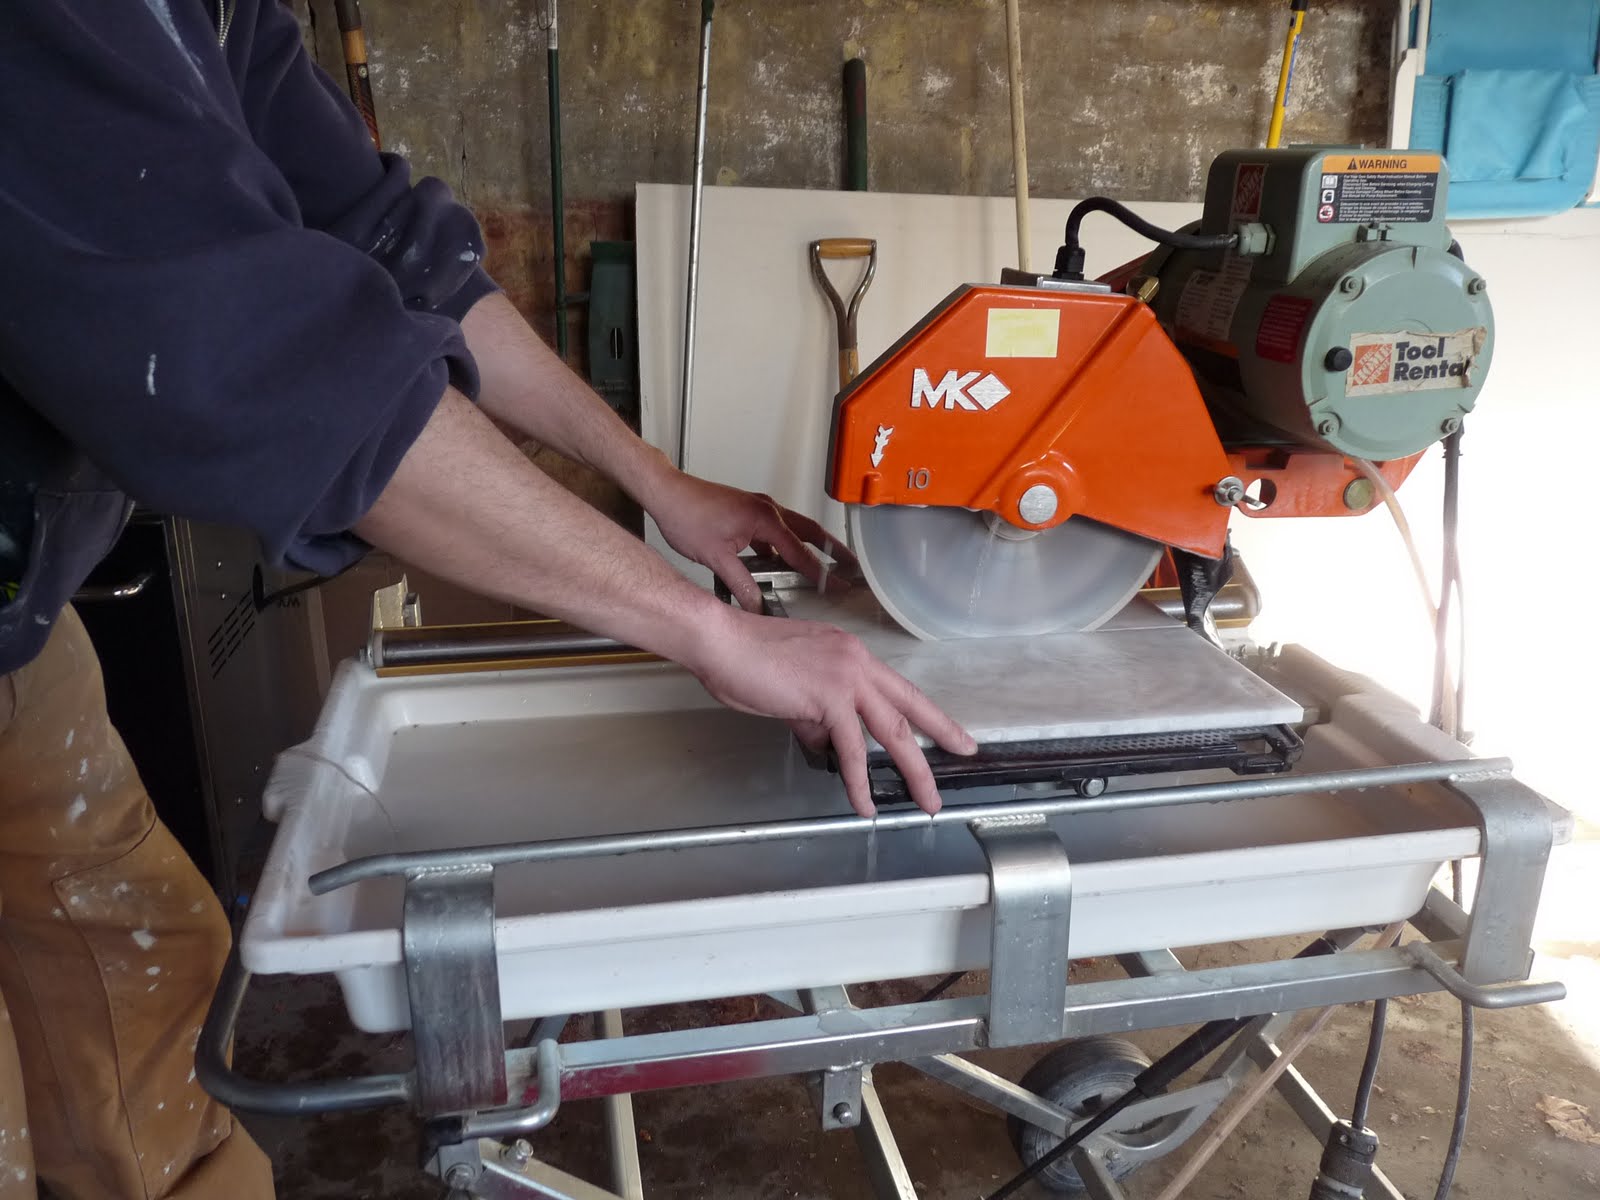
Day 2, I found Chris in the garage cutting down 12x12 inch tiles in half to use on the perimeter.

It's a nice fit.

 In goes the new marble threshold. Don't you just love the transition into the linoleum floor???

Day 3, Chris applies the grout. We chose TEC AccuColor unsanded grout in Dove Gray.

Wiping off the excess. I admit, I was a little nervous that the grout was going to dry this dark.

Finished!
It is a million times better than the shag carpeting that was here before, wouldn't you say?

Stay tuned...hopefully, the next time you see this bathroom it will be for the big reveal!


Photobucket


Monday, April 18, 2011

Oh, The Irony...

Choosing what is arguably the most important element in a bathroom took Chris and I the least amount of time to reach a decision on.


I think that's a record, folks.

How do you make decorating decisions in your household? Is it a team effort, or do you have carte blanche?


Participating in:


Mingle 240

Friday, April 15, 2011

Crowning Glory

My poor hubs has been working tirelessly on the powder room. Last week he finished up the beadboard and trimwork and has since moved on to the crown molding.

He started by painting the ceiling blue to match the wallpaper we chose.


 I helped out by putting a first coat of paint on the molding.

Chris used two different pieces of trim to give the molding a chunky layered look. If you look very closely at the photo below, you can see that our ceiling isn't level. For anyone who has attempted to hang crown molding, you can appreciate how this makes it so much more difficult to mitre all the cuts.

Here's a shot with the second layer up and the nail holes and seams caulked.

Here's how it looks after a final coat of paint.

My dear readers, you are probably sick and tired of watching our bathroom progress, but stay tuned, we're just getting to the good stuff!

Still to do:
Tile
Install sink, toilet, and radiator
Hang wallpaper
Connect electricity and hang light fixtures

Linking to


Tatertots and Jello


Friday, April 8, 2011

The Beadboard is Finished!

We're in the home stretch! Chris finished the trim and beadboard in the powder room.

You may recall our indecision on which molding to use on the walls. Yes, we ended up with beadboard after all. Chris opted to go with a vinyl beadboard product.  We had used traditional wood beadboard in the powder room of our old house and it took a beating because of all the water that had splashed on it.

Vinyl beadboard has an opposite side with wider planks. So for no other reason than to have a different look than what we had in our old house Chris hung it with the wider planks showing.  


Here he is hanging the final planks.

All finished!


Calking up the seams and nail holes.

Here I am doing what I do best, painting.


Ta Da!

Completing the trim work was a huge milestone, but there is still more to do:
- Hang crown molding
- Install tile 
- Install the sink and toilet & connect plumbing
- Hang wallpaper
- Connect electricity and hang lighting fixtures

Linking to


Wednesday, March 23, 2011

Wallpaper It Is!

I was 100% committed to painting the powder room, but then decided to check out a wallpaper shop just to see what was available.  My poor husband returned from a business trip to find this going on in his dining room and a wife who wanted him to make a decision pronto!


He was a good sport, however, and attributed it to fond memories of his mom's dining room table looking much the same way when he was a kid.

The Lotus Papers, from Farrow and Ball, were my favorites. In person, they look like fine works of art. They were also the most expensive.  Just as well, because Chris didn't like these at all.


We both really liked these from Shumacher:
Coconut Grove


Shantung Silhouette


But we can't commit to living with either of them.  Coconut Grove feels a little too traditional for our taste and the Shantung Silhouette seems a little too modern for our Victorian. 
It's back to the drawing board my friends.